
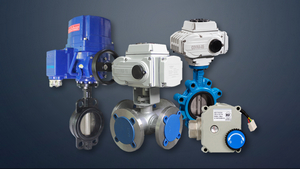
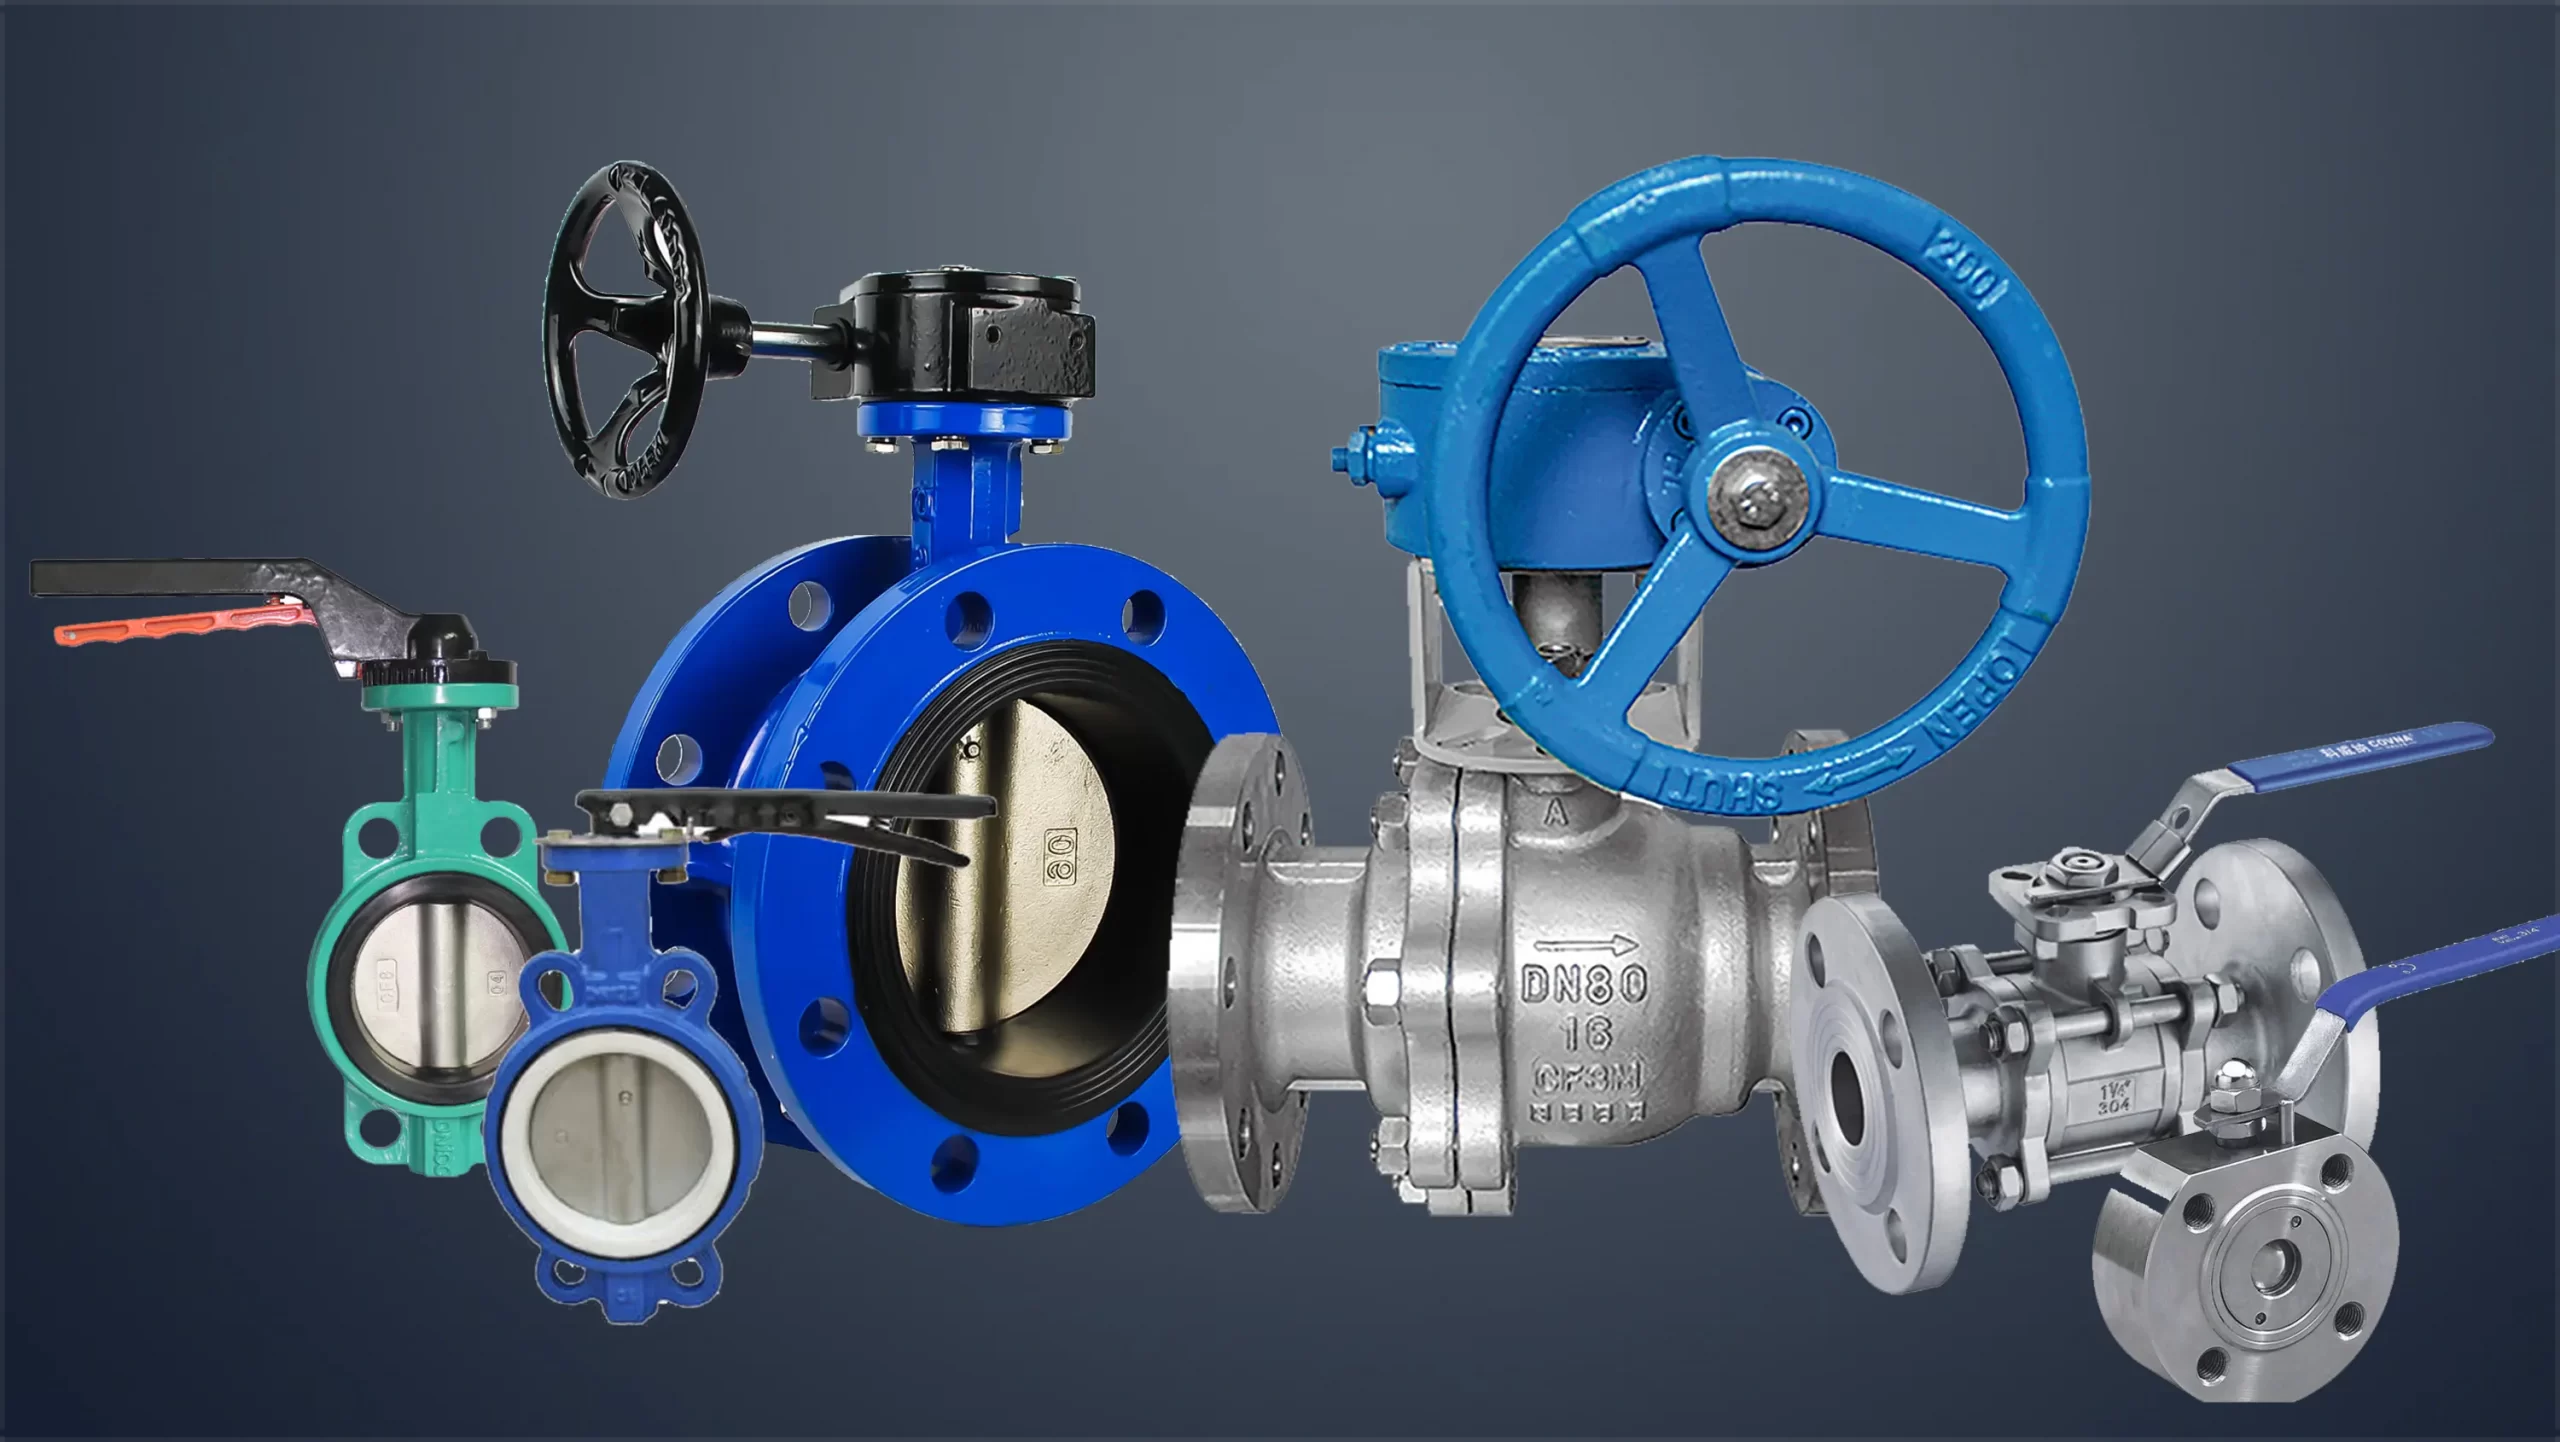


Before installation
You need to check the valve. If you use the flange connection method. The flange faces need to be free of dirt, grease, or any surface defects that may cause leakage. Also, the connecting pipeline should be free of any foreign materials, such as rust or welding slag that could damage the seat and disc sealing surface.
Also, if your valve requires assembly, you should assemble it prior to installation. Make sure the valve, flanges, and pipe are all compatible with the correct pressure class and materials specified before installation.
Check the flange bolts or studs for the correct size and length. The connecting equipment and lines should have the proper alignment prior to valve installation.
When installing the valve and gaskets, the pipe should be spread apart just enough to allow the valve and gaskets without actually coming in contact with the flanges. Care should be taken to not damage the surfaces of the flanges or valves.
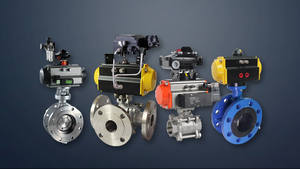
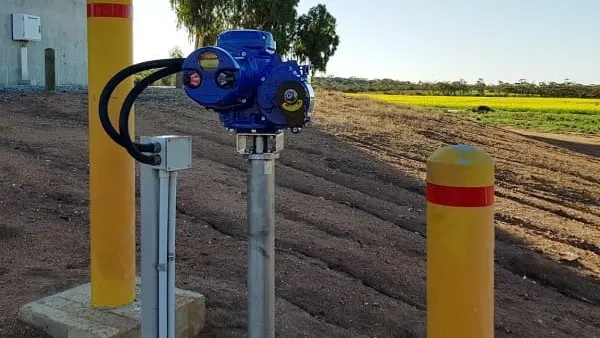
When installing
If possible, install the valve with the stem straight up, so that the position is easier to maintain. Unless you have a design necessity. If the valve has directional requirements. You have to pay attention to the flow direction of the pipeline medium to install the valve correctly. When tightening the bolts, attention should be paid to the tightening sequence.
In addition, if there is a product manual. The instructions will have notes, detailed installation steps. Installation as far as possible to the instructions prevail.
--- END ---
